Department of Agricultural Economics, Sociology, and Education
The College of Agriculture Sciences' home for teaching, research, and outreach in the social, behavioral, and economic sciences.
The Department of Agricultural Economics, Sociology, and Education focuses on the societal and community context of the agricultural sciences. We are the administrative hub for disciplines in agricultural and resource economics, rural sociology, and agricultural and extension education. Our department conducts high-quality research, teaching, and outreach programs.
Latest News


Teaching
Our academic programs integrate social and physical sciences, business, and management at the undergraduate, graduate, and doctoral levels. Instruction is hands on, industry focused, and grounded in research.
Research
Penn State is a Tier 1 Research University. Students from first-semester freshmen to doctoral candidates participate in meaningful research in our labs and out in schools and communities. Current focus areas include agriculture and food systems, environment and natural resources, community development and engagement, and population processes in global perspective.
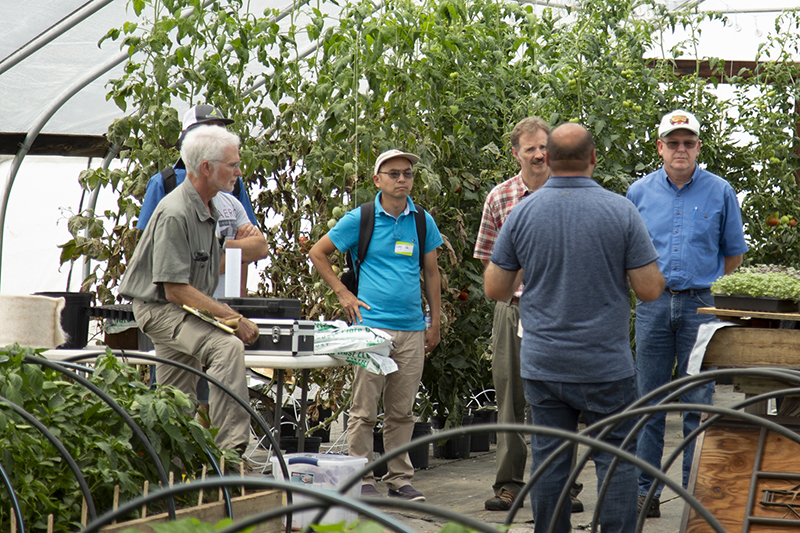
Extension and Outreach
Outreach connects department resources with community members, industry, and institutions in Pennsylvania and beyond by offering the latest research-based, usable information.
